This is a guide for XML editing crafts, planets, and more. XML editing allowed you to change the way the game “builds” something. It allows you to do thousands of things. Obviously not all of this will be covered. This will also be added onto.
Note: the first thing we will do is required for some of this guide to work. You don’t need any coding experience to complete this guide.
Another Note: I recommend Text Editor for this. It is one of the easiest ways to XML and it even works on mobile.
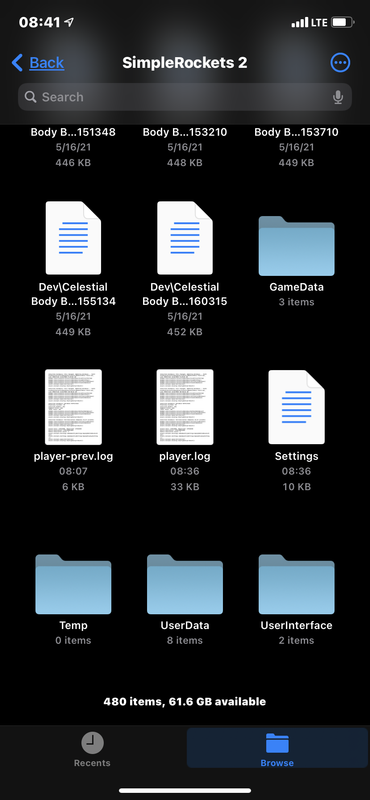
- Go to your files and open up the Settings file.
(Click image if you can’t see it)
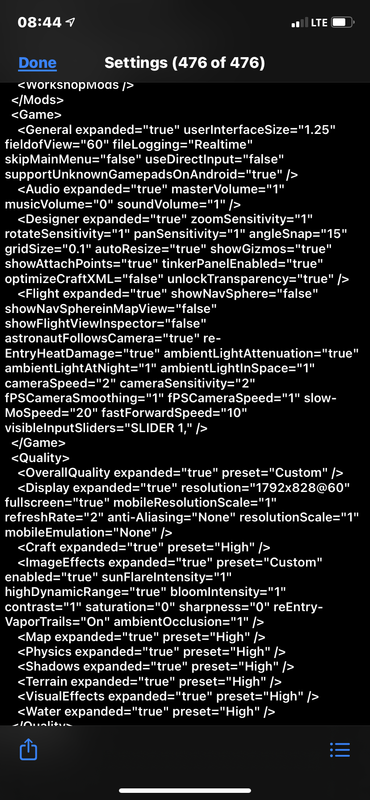
- With your XML editor of preference open, go down near the bottom to a setting that says “OptimizeCraftXML”
(Click image if you can’t see)
- Change the “True” (mine is false because I changed it) to “False”
Warning: doing so may increase file size and length significantly. Do so at your own risk. This setting just gives you more options to look at. You will be able to proceed if you don’t want to do this but it will make some things more difficult.
Go here for every XML setting you can possibly want in the game. I will not cover everything, but this guide tries.
Engines:
Engines can get really powerful really quick. So do be warned that you may end up making it way to big or powerful and mess up the craft. I don’t recommend goin for specific settings.
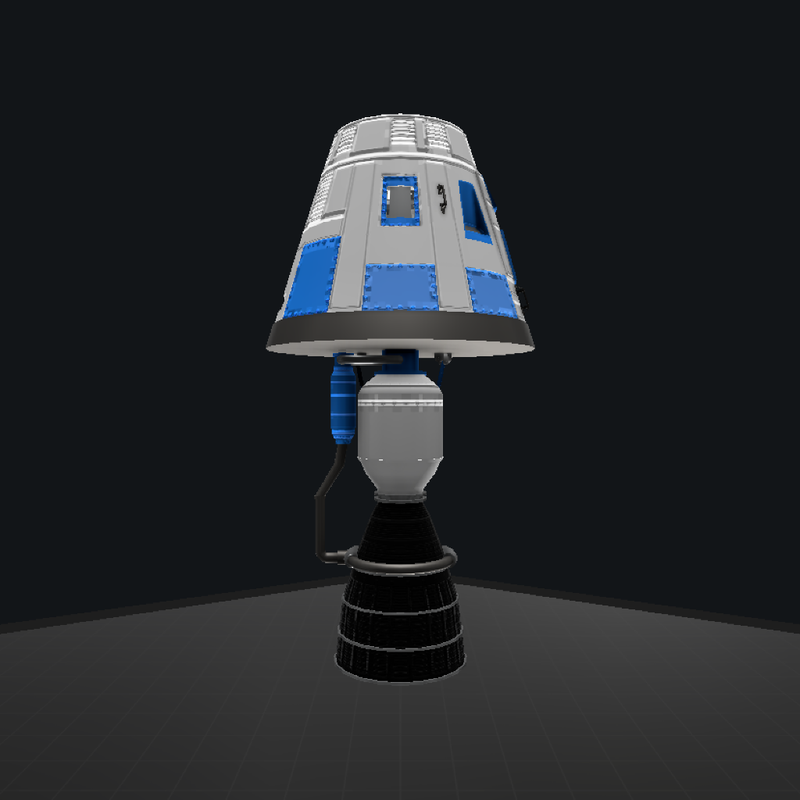
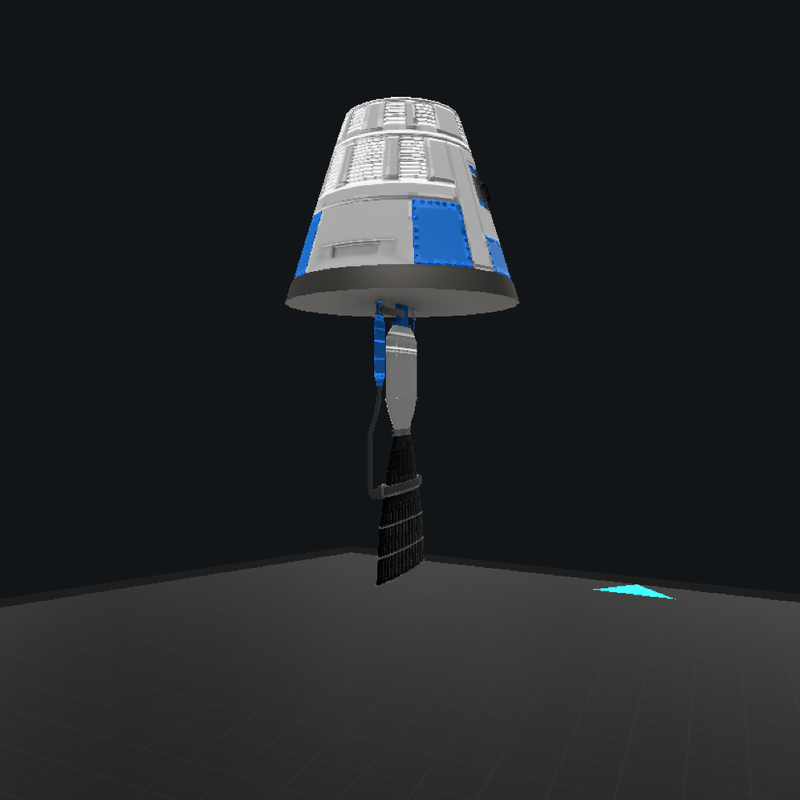
I recommend making a brand new file for this. It is easier. Simply click new craft and take out the fuel tank and attach the engine to the capsule to reduce part count and make the length shorter.
(Click image if you can’t see it)
Save craft
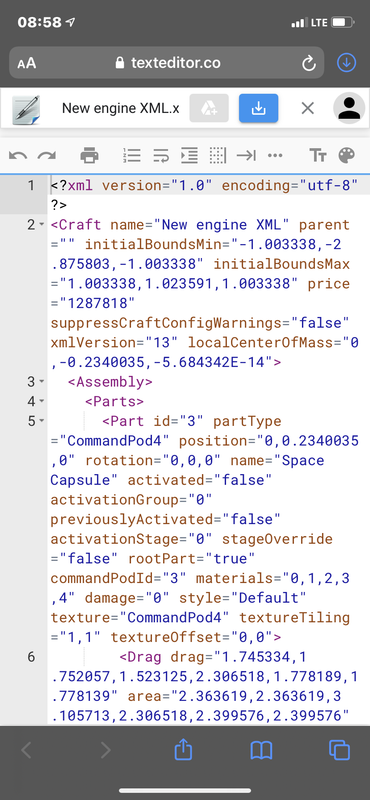
Open XML file on your XML editor
(Click if you can’t see)
In this I will go for a large engine with high iSP and low thrust that is relatively flat just to show how you can change things up on engines in many different ways.
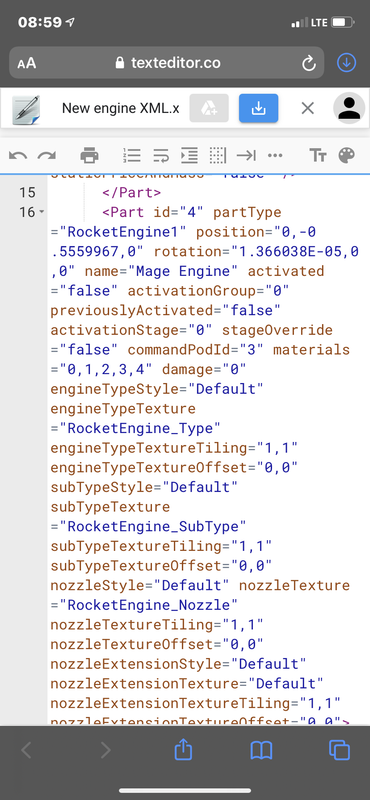
Going from top to bottom we will go down to the engine
(Click if you can’t see)
- The first thing that we will edit is the engine scale to make it flat
(I am sure you have figured it out by now)
Set one of the scale to whatever you want. You can make it bigger or smaller. You can change one, two, or all three. You can even make some smaller and some larger. I will turn the X scale down to 0.1.
Save and download you XML to the craft files in the main file. I recommend keeping both and naming the original one (original name) + original to keep track of the original.
Now open the craft in SR2. You should notice the engine looks different. This won’t have changed any specifications about the engine other than its size.
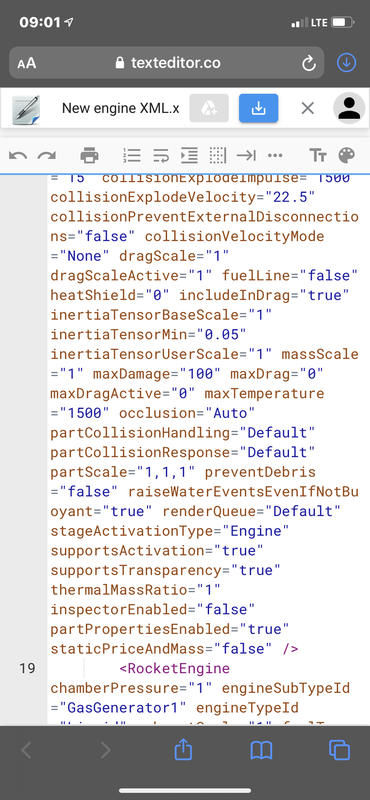
- Now go back to your editor and scroll down to where you see the tag <RocketEngine
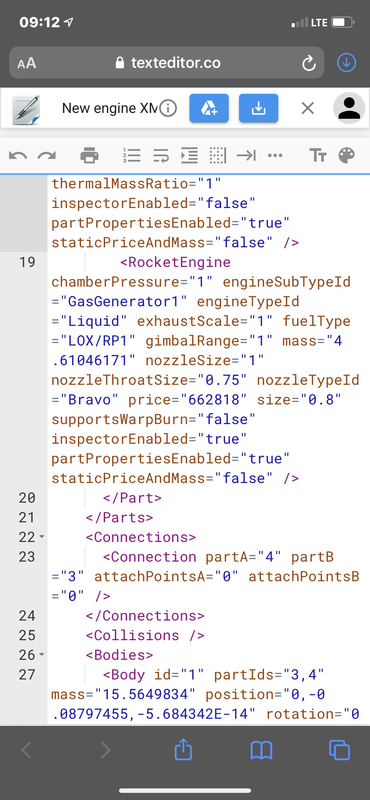
Now you will see stuff like chamber pressure and throat size. And even nozzle length. These will often be in scales and you are not always editing it in the way you think. For instance 1 chamber pressure in XML is currently 7.5 mPa in game.
Go at it. You just have to be careful to not mess it up. For instance anything that is after an equal sign (assign) should be in quotations. For instance partScale=“1,1,1” and the variable that is being assigned is capital sensitive. Always try and keep a tree of them and then delete them when you are finished.
General:
Always make an original save file for crafts first. And make sure you keep it until you are happy with your outcome with XML and then you can delete it.
Open up the file using you preferred XML editor.
“Table of Contents” in XML:
A. The first two tags relate to details and information about the craft and XML file. Do not edit these because it could mess up the file badly.
B. Starting with the <Assembly> tag is where you should start editing if you want to. Don’t change this tag though.
C. Parts
Parts start with their Part id and partType. Then they move onto simple stuff like position rotation and materials. (I haven’t quite figured out how materials work) and also command pod. Now it goes onto drag. This will effectively change the drag formula for that part separately of tinkering. Now onto <config>. This is where the tinker panel settings are mostly located. You can change drag scale, heat shield, max drag and max drag active. Although those last two don’t really need to be changed. There is also much more that is better if reserved for more skilled XMLers. So then here is where it starts to get a little bit different for individual parts. For fuselages (tanks, inlets, cargo bay, and struts) it will have the sizing options. This allows you to change a bunch of sizing stuff up (obviously). Next we have the fun stuff. The tag should resemble the part type. (Inlets, struts, etc. that don’t have any really special don’t have this tag) (For capsules it should say something like command pod and engines it should say the type of engine [rocketEngine, etc.]) You can edit any inspector things here like throat size, cargo bay doors, etc.
D. Part Connections to change how pets are connected
E. Collisions. This edits how one person explosions affect others.
F. Paint colors. Edit and add ping colors.
G. Symmetry settings. Customize parts symmetry settings. This doesn’t work well with just XML because you have to add the parts yourself. So be careful.
Command Pods:
Command pods allow you to control your craft. But with XML they can be “optional” but I haven’t tried that yet. They allow for vizzy and more.
A. All command parts:
1. Controls:
Allows you to edit P. I. D. ‘s of the craft control
2. Command pod activation group names:
Edit names of your AG’s.
3. AG states:
Edit if they are activated on start or not. It also has some staging stuff underneath it.
B. Capsules:
1. Gyro:
Allows you to control power consumption and power of the gyro in the capsule.
2. Fuel:
Edit the fuel and priorities of the fuel tank.
3. Crew Compartment:
Allow you to edit position, rotation, capacity, and if the Drood is visible.
4. Scalable Pod:
Allows you to control the scale and engine. Such as iSP, thrust, and if there are engines.

@TweedleAerospace F