(instructions at BOTTOM)
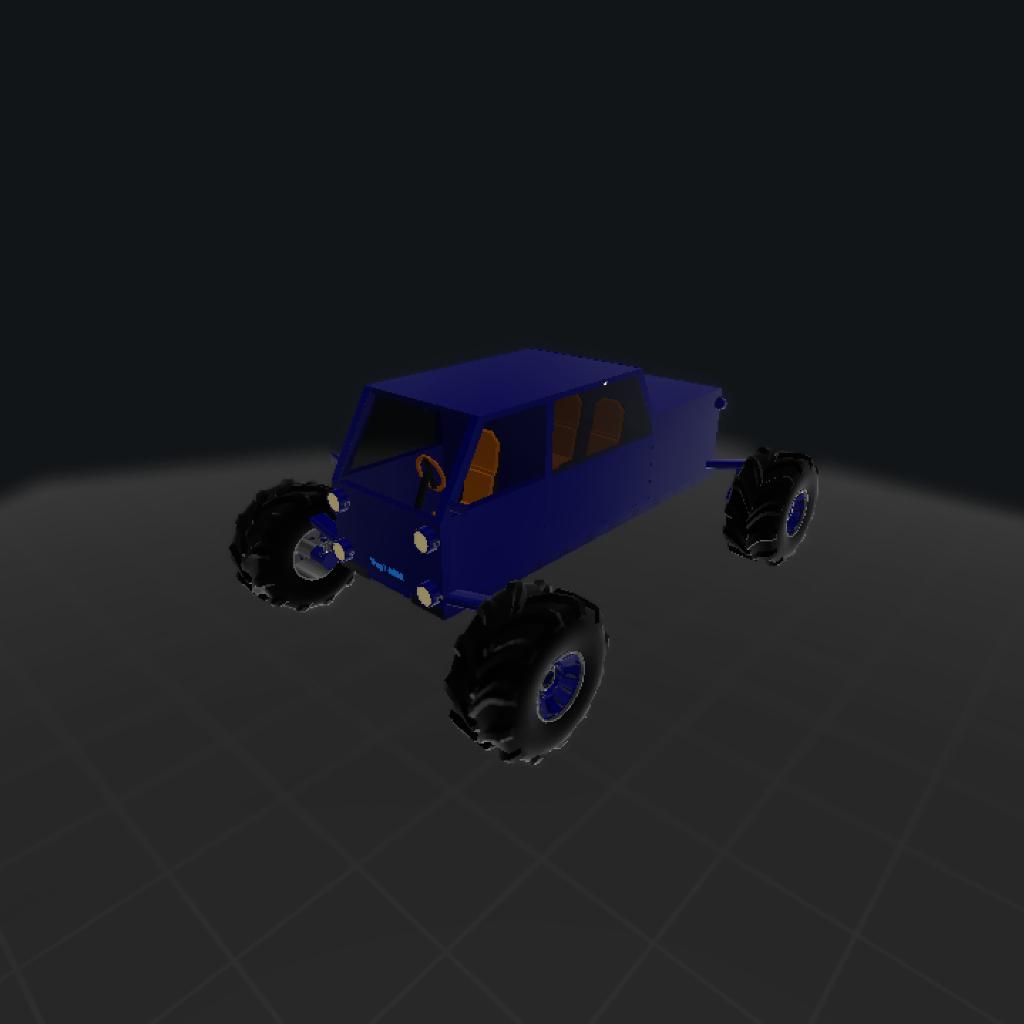
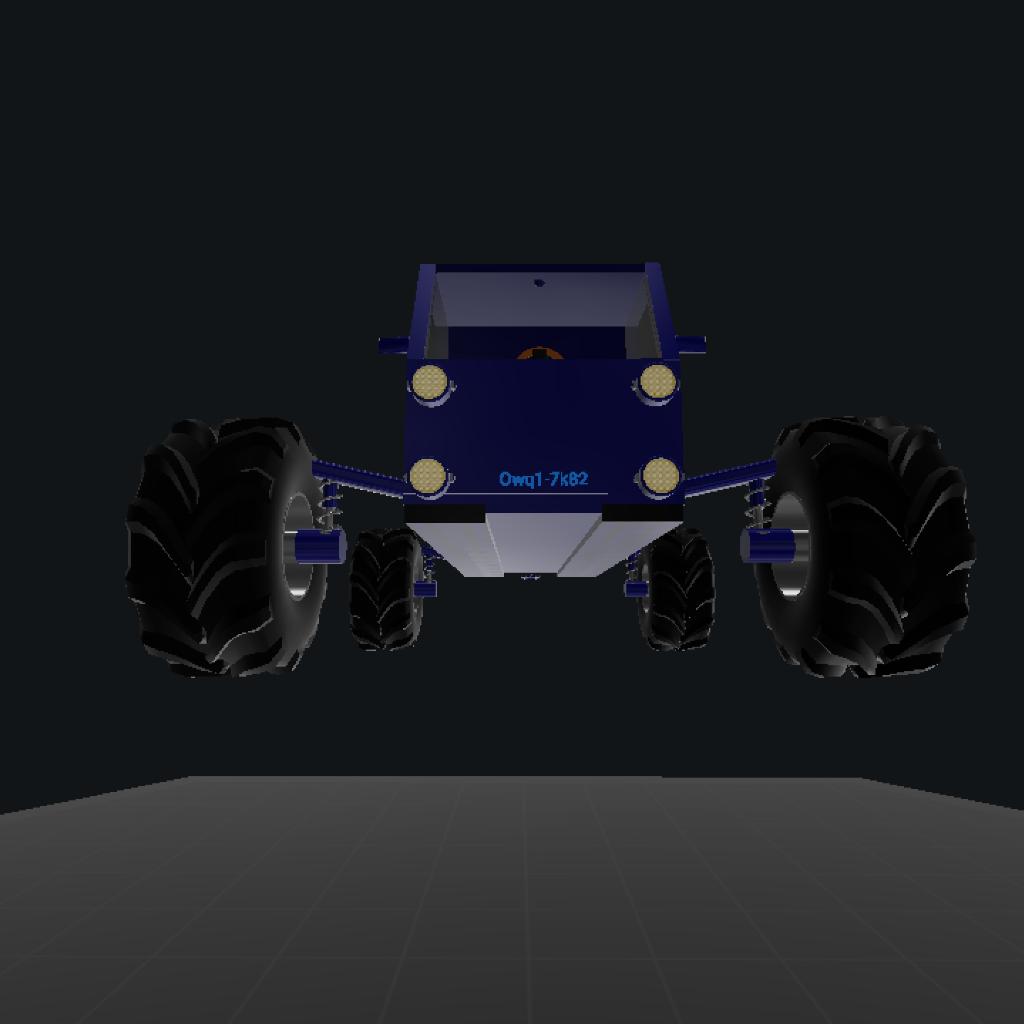
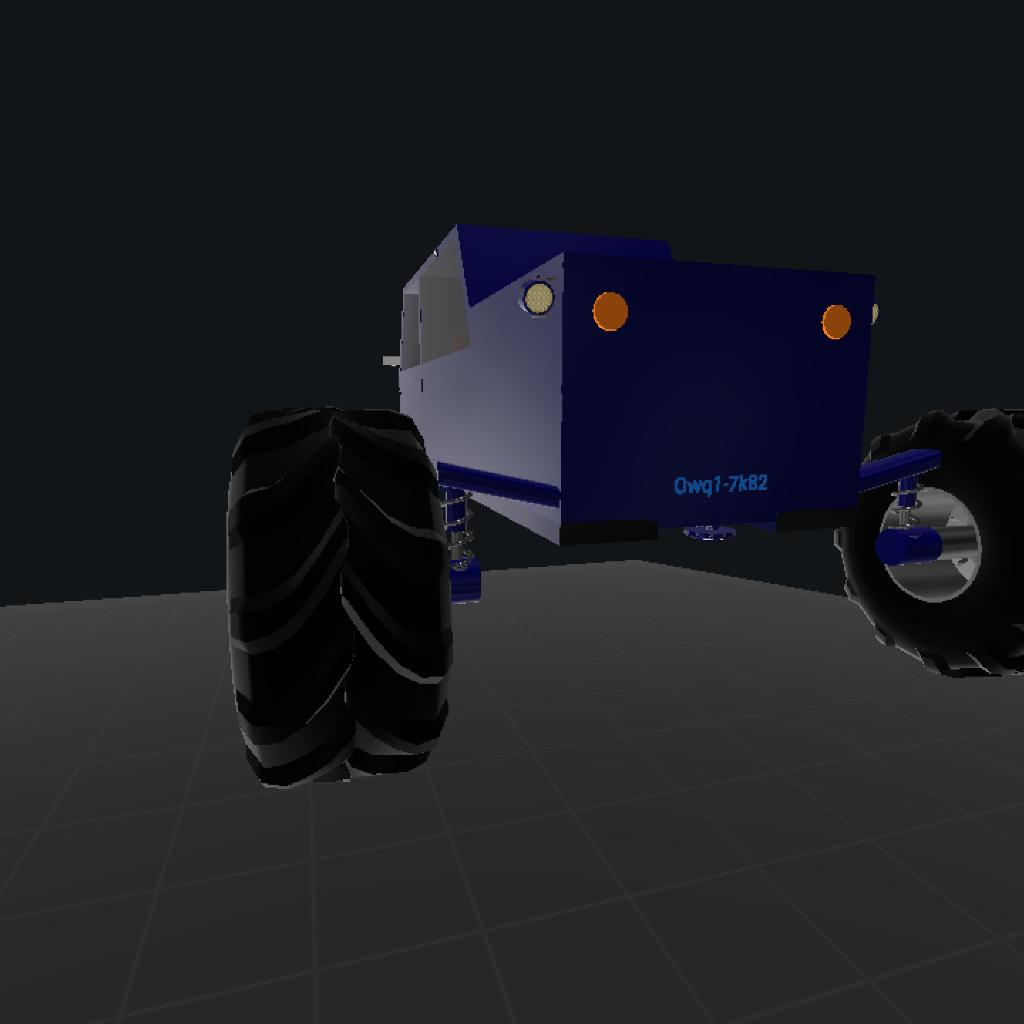
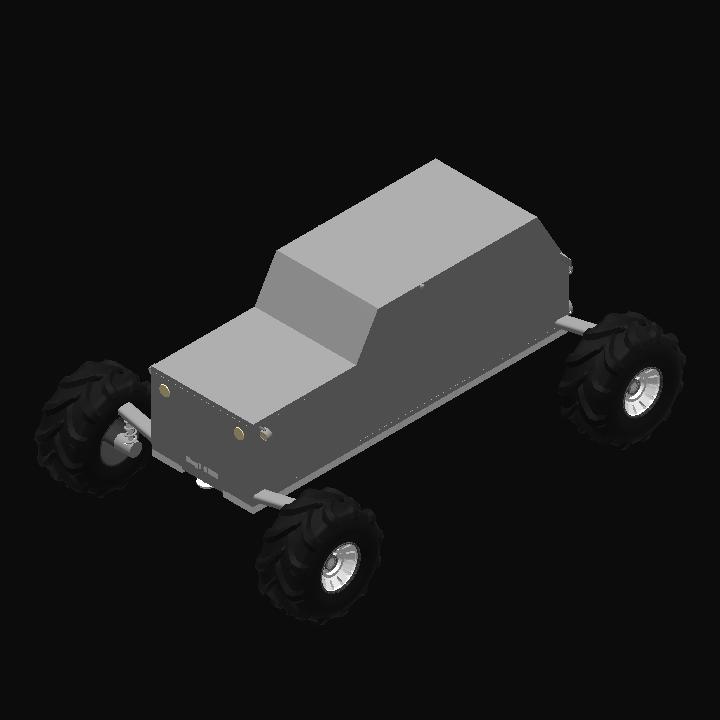
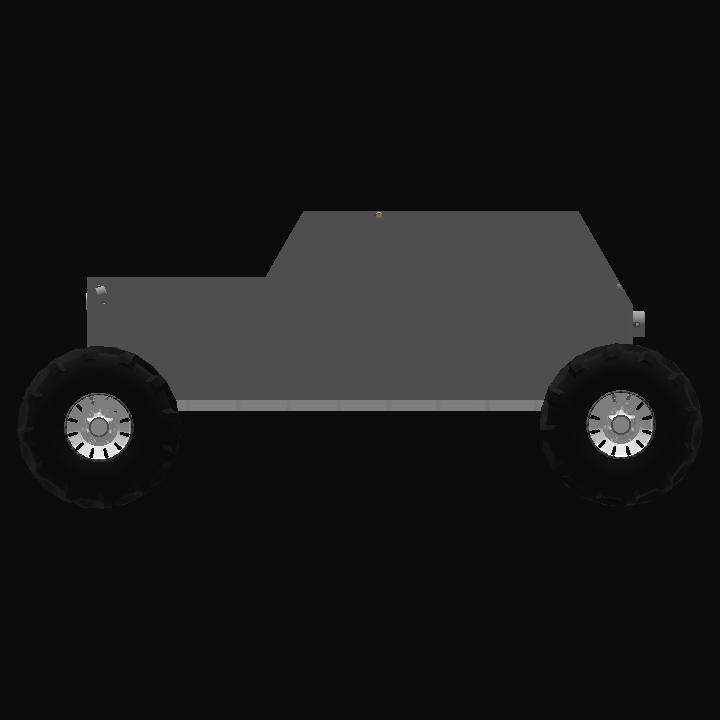
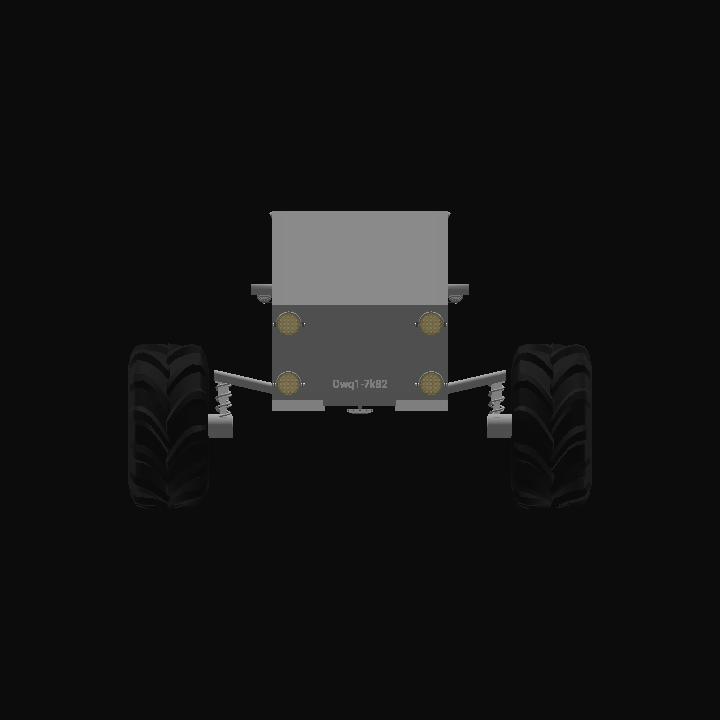
The LURe, or Light Utility Rover was the backbone of many early colonization missions. With a cabin featuring the newly developed PhaseSeal™ it is able to withstand pressure gradients that a significant number of submarines would be jealous of. The LURe has a top speed of approximately 100 MPH, but enough torque to pull a train.* It also features some hugely popular off-roading modifications that allow it to traverse nigh impassible terrain at a significant speed. Among these modifications are the InvertedLength™ shocks that mean if you bottom this thing out, you are REALLY doing something wrong. Finally the most coveted feature of the LURe is the environmentally controlled trunk.
*entailed statement is for entertainment purposes only, and has not actually been tested
Activation group 1, Trailer Hitch:
This does not turn on or off the docking port used, only allows you to use Slider 1 to control its position
(It is not recommended to input negative values for this)
If you desire to build your own trailer to attach to this, make a docking port 30% of normal size and weight and connect at approximately 1m off of the ground
Activation group 2, Drive:
It does as it seems and allows you to drive. Use Yaw to turn and Pitch for going forward/backward.
(It is not recommended to have a PID controller visible or active during operation)
Activation group 3, Trunk:
Allows you to open and close the trunk using slider 1
(It is not recommended to input negative values for this)
Activation group 4, Doors:
Allows you to open and close the doors on the rover using sliders 1-4. Use slider one for drivers right door, and the count up going clockwise from there (that means drivers left door is slider 4)
(It is not recommended to input negative values for this)
Activation group 5, Interior Lights:
Turns on interior lights
Activation group 6, Headlights:
Turns on headlights, and visibility flashers
Activation group 7, Bright Lights:
Turns on high beams, and lights surrounding the rover
Activation group 8, Mirrors:
Allows adjusting of rear view mirrors. Use sliders 1 and 2 for the right mirror, and sliders 3 and 4 for the left mirror

